Friday, February 25, 2011

What to do with a batt

Maybe you've got a batt and you're not sure what to do with it. If you've spun with hand carded rolags, you have all the experience you need. If you've spun from commercial top, you also have plenty of experience. It's simply different.

You could spin directly from the batt, but that's a heck of a lot of fiber to have sitting in your lap, and if you have a pet, it's really not a good idea. Your pet, especially if it's a cat, will like that fiber just as much as you do (or maybe more!)

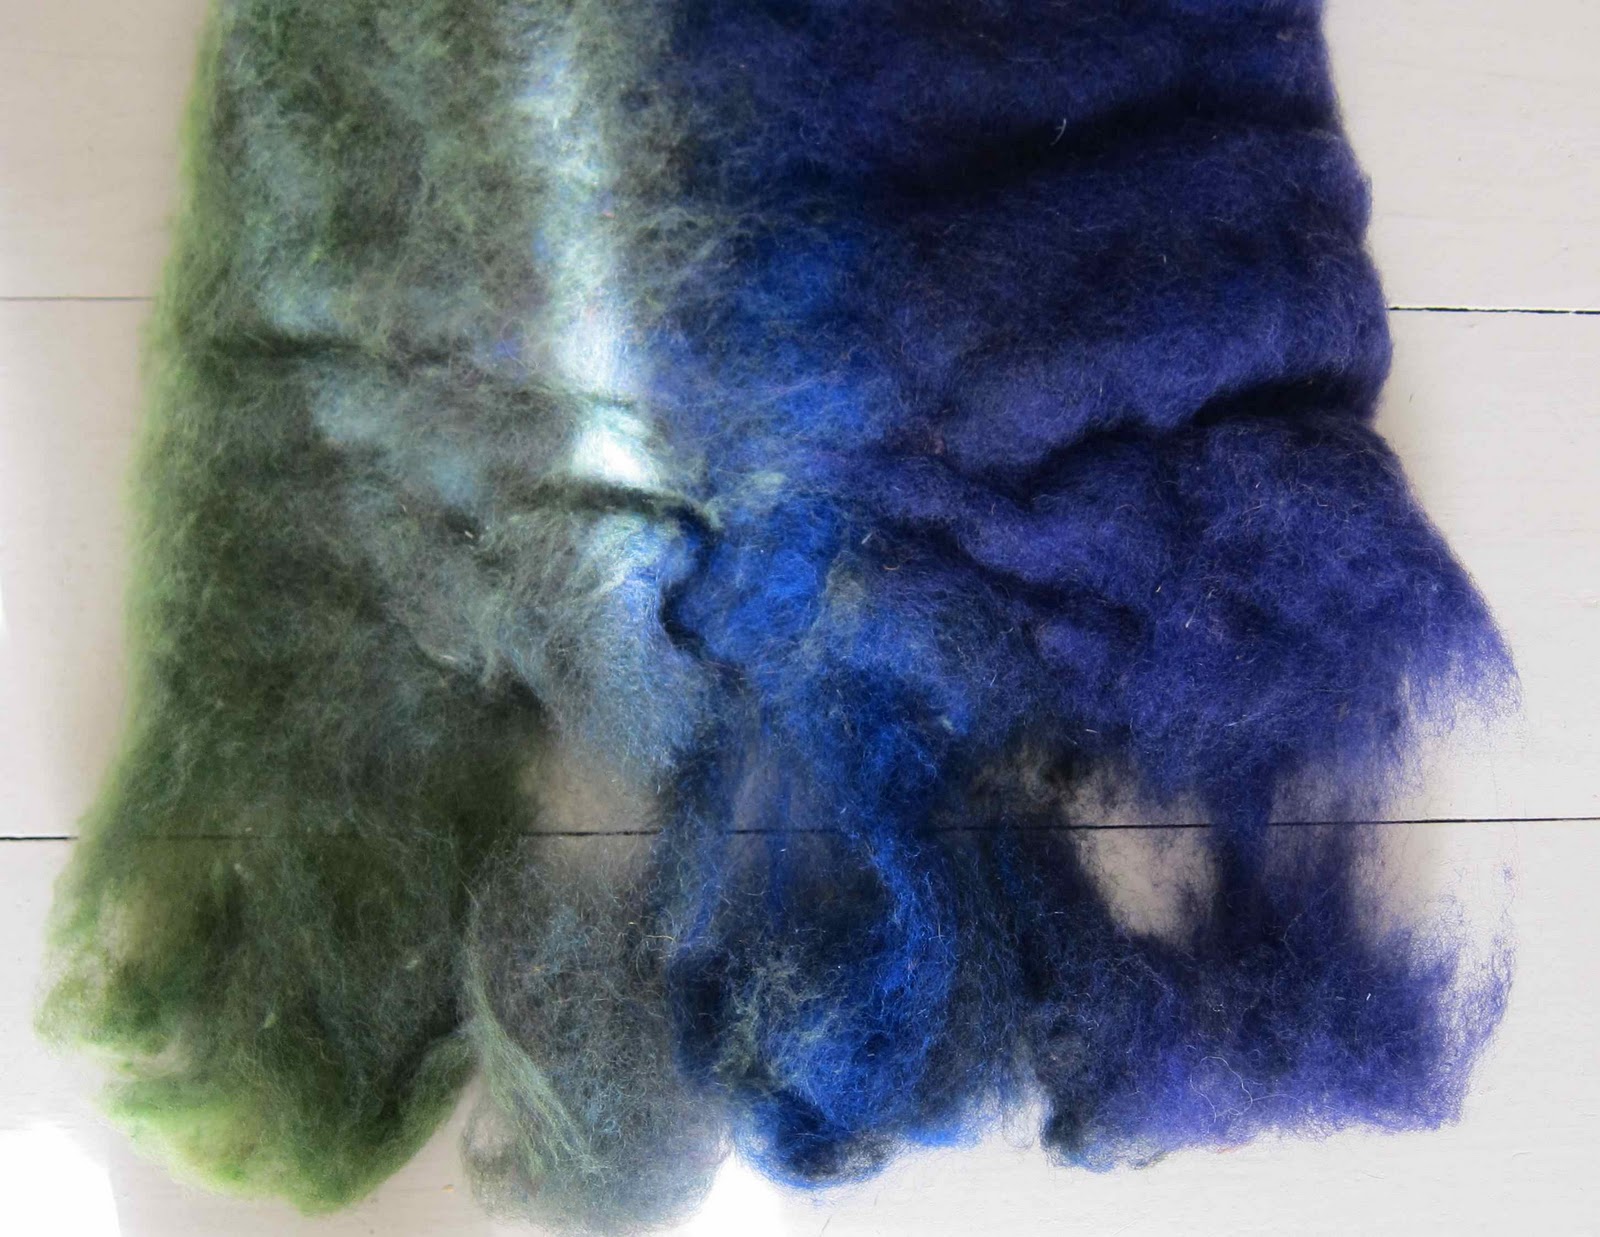
The first thing you should do is to divide the batt into manageable amounts to spin from. You may not want to do this all at once, for there's many ways to divide up the batt, and each way produces a different result. You could divide the batt by color:
The above is only half a batt, for I'd divided the batt this way beforehand:
There's no special technique for ripping a batt up. You simply grab the batt with one hand, and pull the fiber off with the other. 

As you can see, this batt had gotten rather beat up and compressed, but that's not a problem, for one can then attenuate the fibers. You can go ahead and spin without any more preparation, but if you do the next simple step - attenuating the fibers - you'll find spinning to be a breeze. 

Attenuating simply means pulling the fibers apart. Again, you hold the fiber in one hand, and pull with the other. Do a handful at a time. In the end, the fibers will look like this:
 
Here's some I did last night, with colors from another batt. You can see that this one is not nearly as neat:
I put my foot in the picture (and not in my mouth), so you could get a sense of scale.

Let's go backwards and see how this one started. I was quite sloppy about ripping this batt, as you can see:

One handful of fiber ripped the short way from a batt will give you quite a lot of fiber to spin with! I spun 24 yards of singles thick enough to produce a worsted weight yarn when plied:
There's many ways you can divide and use your batt. Attenuating the fibers neatly, as they are in the picture with the purple fleece above, will provide you with the easiest spinning experience. If you do a more sloppy job, you'll have to do more work when you're spinning to create a consistent yarn. On the other hand, being more loose about attenuating the fibers can assist in creating a more "rustic" yarn, with all the nice lumps, bumps and slubs that say "hand spun" without using any fancy spinning techniques. 

There's plenty of fiber in a batt. If you've never used one before, it's a great opportunity to learn and play. 

Here's a close up of some small skeins which were made from various batts, including the twelve yards of plied yarn from the singles you've already seen:
Except for the green and blue skein, these were all made from the fiber that was left on the drum carder after a batt was made. You can create yarns that look just like these if you use handfuls of your batt in a rather random fashion. There's so many possibilities when spinning from a mixed batt. You can be very deliberate about how you divide it up, using a scale for precision (!), or you be just the opposite by closing your eyes and pulling off random handfuls. . .it's entirely up to you.

Have fun!

Wednesday, February 9, 2011

Andean plying


What if you have a little bit of fiber to spin, or want to make a sample - how does one ply it? Andean plying is generally used by folks who spin on spindles, not spinning wheels, but it's a great technique. Here's how to do it:
First, secure the end of the yarn under
your ring and pinky fingers.
Don't lose that end!

Wrap the yarn around the back of your index or middle finger, and then around the back of your hand.
Continue in this fashion. . .
. . .until you have all the yarn wrapped
around your hand! Try to wrap fairly loosely, or else you'll wind up cutting off your circulation, and don't forget to always wrap the yarn in the same direction.

Next, slip all the yarn around your wrist,
making sure you have both the ends  secured.
If you don't feel like spinning right away,
you can slip the yarn on to a stitch holder.
Next, attach the ends to a leader on your bobbin as you normally would. The only thing different about plying this way is the bit of trickiness involved in slipping both ends off one's wrist gracefully. At first, it's a good idea to pull back a long ways with the wheel stopped (hopefully without a cat trying to ply play with one's yarn):
This fiber is a an alpaca, wool, and bamboo blend, and what was left on the carding drum after making up a big batt.

Here's the finished product (before the cat attacked it):
Click on the photo to see it in more detail.
This was certainly one of the more subtle batts. More photos to come. . .We are making all sorts new things for Spring!


Friday, January 28, 2011

The trip from fiber to batt (part three)

Using a lot of color is a sight for sore eyes in the midst of another Maine winter. We love Maine, but it's all so white and gray. Maybe that's one reason we like color so much.

Well, back to the creation of the batts. The next step is laying out the colors on the conveyor belt that feeds the fiber into the drum carder:

On the other side, we've got fiber in motion:
Half a pound of fiber, ready to be taken off the drum:
This is an awful lot of fun for a fiber fanatic! Here's some different colors coming out of the carder:

These long 1/2 pound batts are hard to photograph, but, here's most of one:
More photos to come - there's now batts that sparkle, pastel batts, and batts with colors layered on top each other. Yes, more fun! We'll also show you the many different ways to use the batts for hand spinning. Carded fibers are a breeze to spin, and spinning from these babies is a little too much fun for this spinner!  Hmm. . .how many times has the word "fun" been used in this post?

Saturday, January 15, 2011

The trip from fleece to batt (part two)

No, the fleece isn't going into an old drawer. This is the wool picker (well, part of it). The white thing is a conveyor belt. There was a whole lot of fiber on top of it. I was so involved in pulling the fibers apart ("teasing") that I forgot to take anything but this one photo. At back of that green door are truly nasty sharp pointy things that can rip one's arm apart. One must be careful.

Here's the inside of the picker box, with a silhouette of those nasty spikes:

A close-up of the pink fiber:
Some purple . . .
 . . .green. . .
 . . .red. . .
. . .and that wasn't all. 

There was also yellow, orange, all sorts of blues, and mixed blues, violet, and purple. This was just too much fun!

So, what's next? Just wait. . .

Tuesday, January 11, 2011

Tuesday's dyeing

Started the day with a mysterious looking vat of brown alpaca and Shetland wool. The steam seemed perfect on a chilly morning.
Here's the second dye pot. Looks about the same, doesn't it?
After 45 minutes of simmering, neither of them had any pink hues left. A pot of dye surely is a mystery. Here are the results, sitting on the drying racks:

The next vat was mossy green. Then, a red, and a real violet-pink. Now, that one didn't look vibrant at all in the dye pot!  Sure looks vibrant here:

Last, a burnt orange and a yellow:


So, what's next for all this fiber?

Stay tuned, because it'll be a lot of fun to watch. They're going to be blended with each other, carded into stripes, mixed with silk, bamboo, and a little bit of glitter, to make big half pound batts for hand spinners. If you want to knit with it, and you're not a spinner, it might be time to learn to spin.  . .

Friday, January 7, 2011

How to do the twist

A few people have asked for more explanation of how to do "The Twist" in our pattern for fingerless mitts.

Here's the written instructions:

Knit 2 stitches together. Leave on left hand needle. Insert right hand needle into first stitch on left hand needle and knit 1 stitch. Pull all stitches off onto the right hand needle. That's it!

We hope these photos help the visual learners out there:
Knit two stitches together.
Leave on left hand needle.


Insert right hand needle into first stitch on left hand needle.

Knit one stitch. Then. . .
. ..pull all stitches off
and on to the right hand needle.

It really is simple. Just follow along, and you'll see. This faux cable stitch is great to use anywhere there's a K2P1 or K2P2 ribbing. It's decorative and doesn't stretch much. Have fun!

Thursday, January 6, 2011

New year, new blog


Hey folks! Welcome to our virtual world. It's been over a year since the last blog entry and there's just so much new goings on that it'll be hard to catch up. We'll try.

Here's where you come in. We'd love to post photographs of your projects using our yarn and fiber. Please email us if you have any photos you'd like us to post.


Please feel free to leave comments. If there's anything you'd like to see on the blog, let us know. We're open to suggestions. Meanwhile, Happy New Year from all of us on the farm (and yes, that includes the animals).

The yarn above is our newest six-color, called "Oh, The Places You'll Go!" To order, click here.